 |
| Love to Love Ya Baby! - Valentines Day Cards |
Its been a wild week for me! Not really physically - an at home kind of week - but emotionally and mentally. Lots of learning, planning, listening, dreaming, discussing. January is just that kind of month. I am so ready to veg out and enjoy this weekends Big Commercials!! LoL OK, ok. Commercials, and the great food and friends!! Hah - maybe even some football.
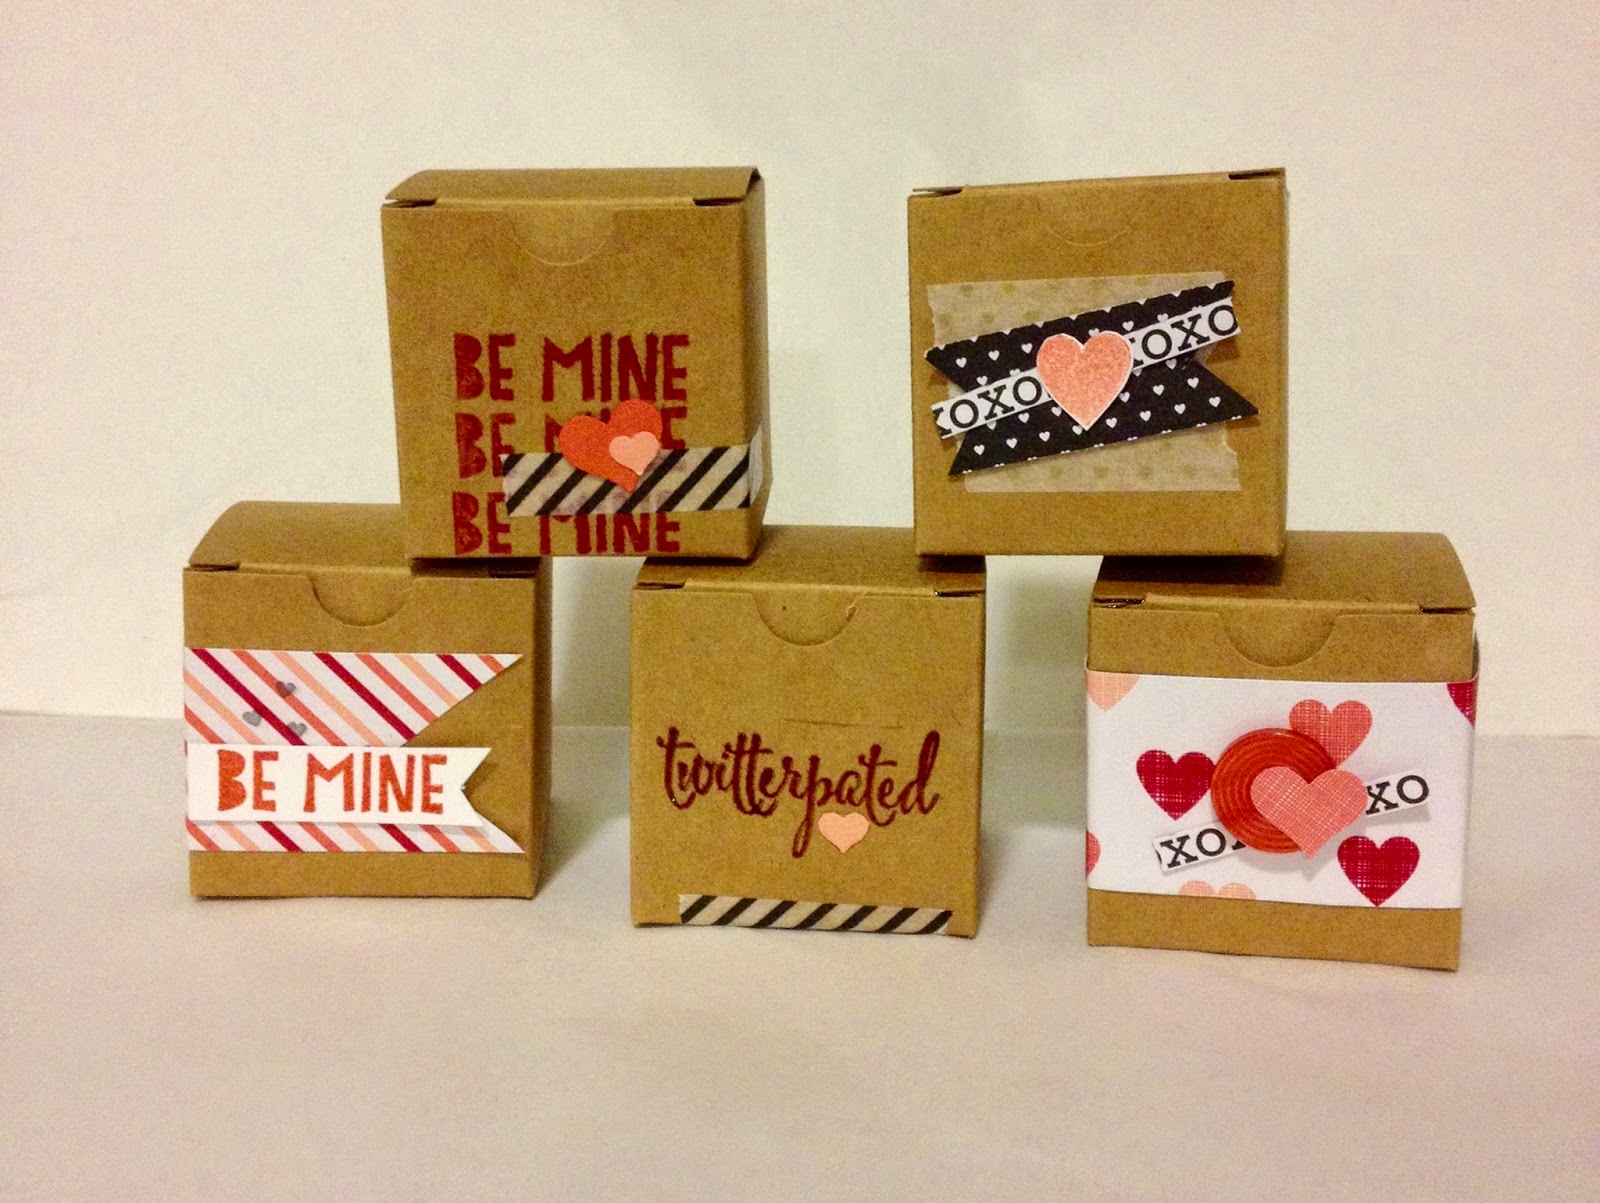
Today's projects are made with the awesome January Paper Pumpkin Kit, Filled With Love. Beautiful colors, gold accents, 24 great little treat bags, and an awesome stamp set - what's not to love about this months kit!! If you missed out on your creative escape, go HERE and JOIN TODAY! Don't wait - next months kit will be out before you know it!!
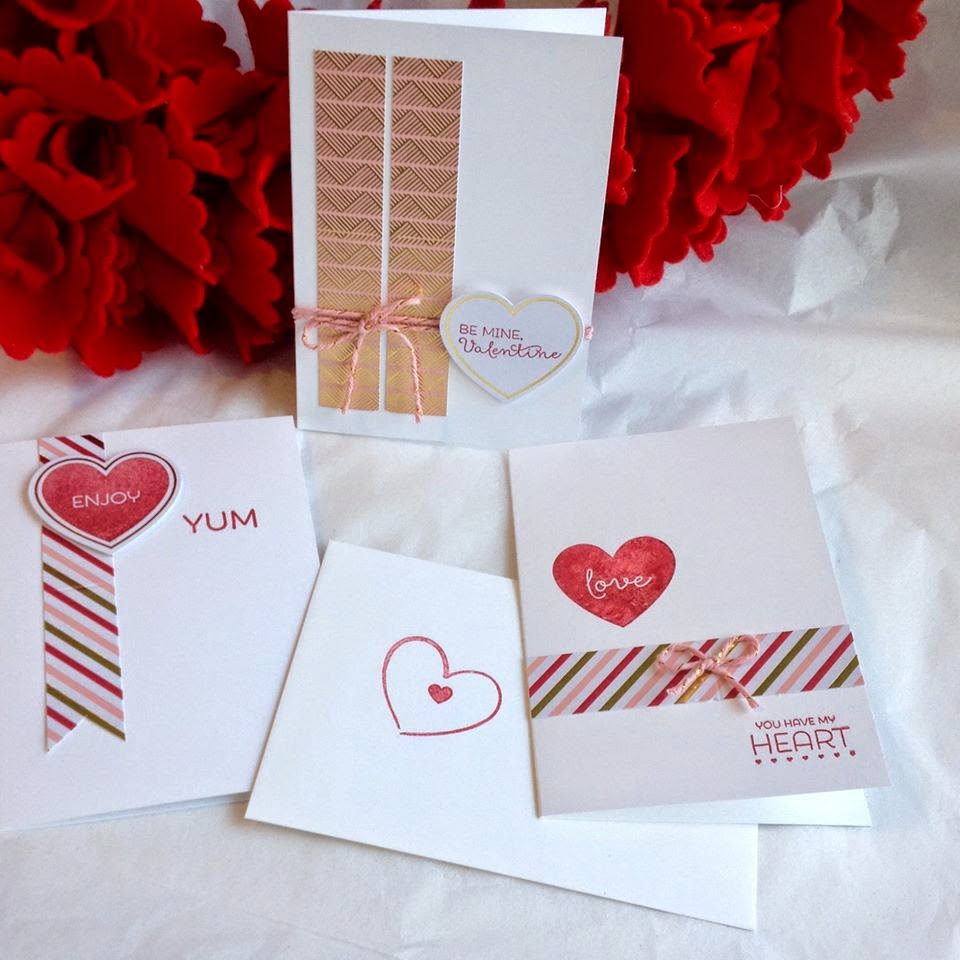
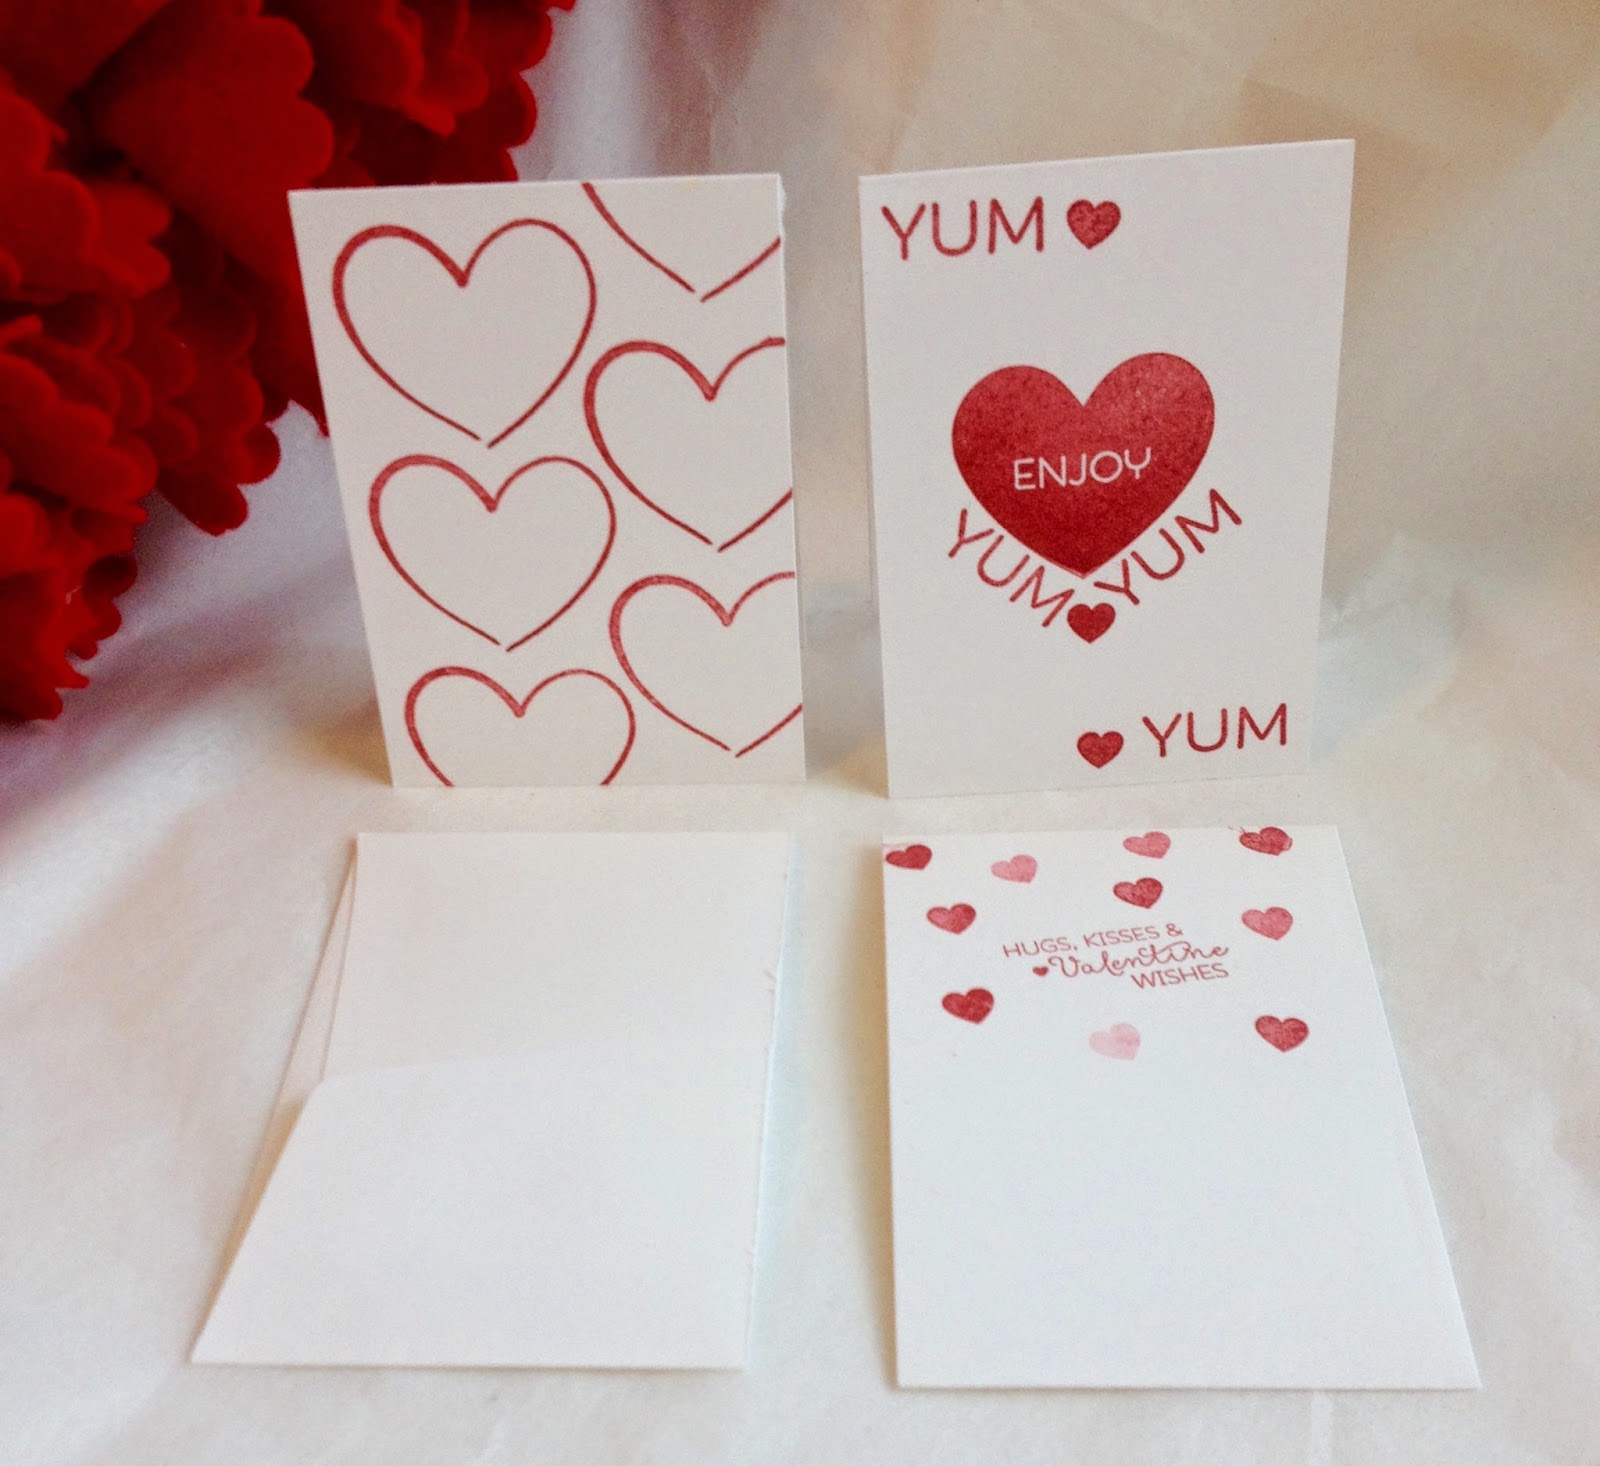
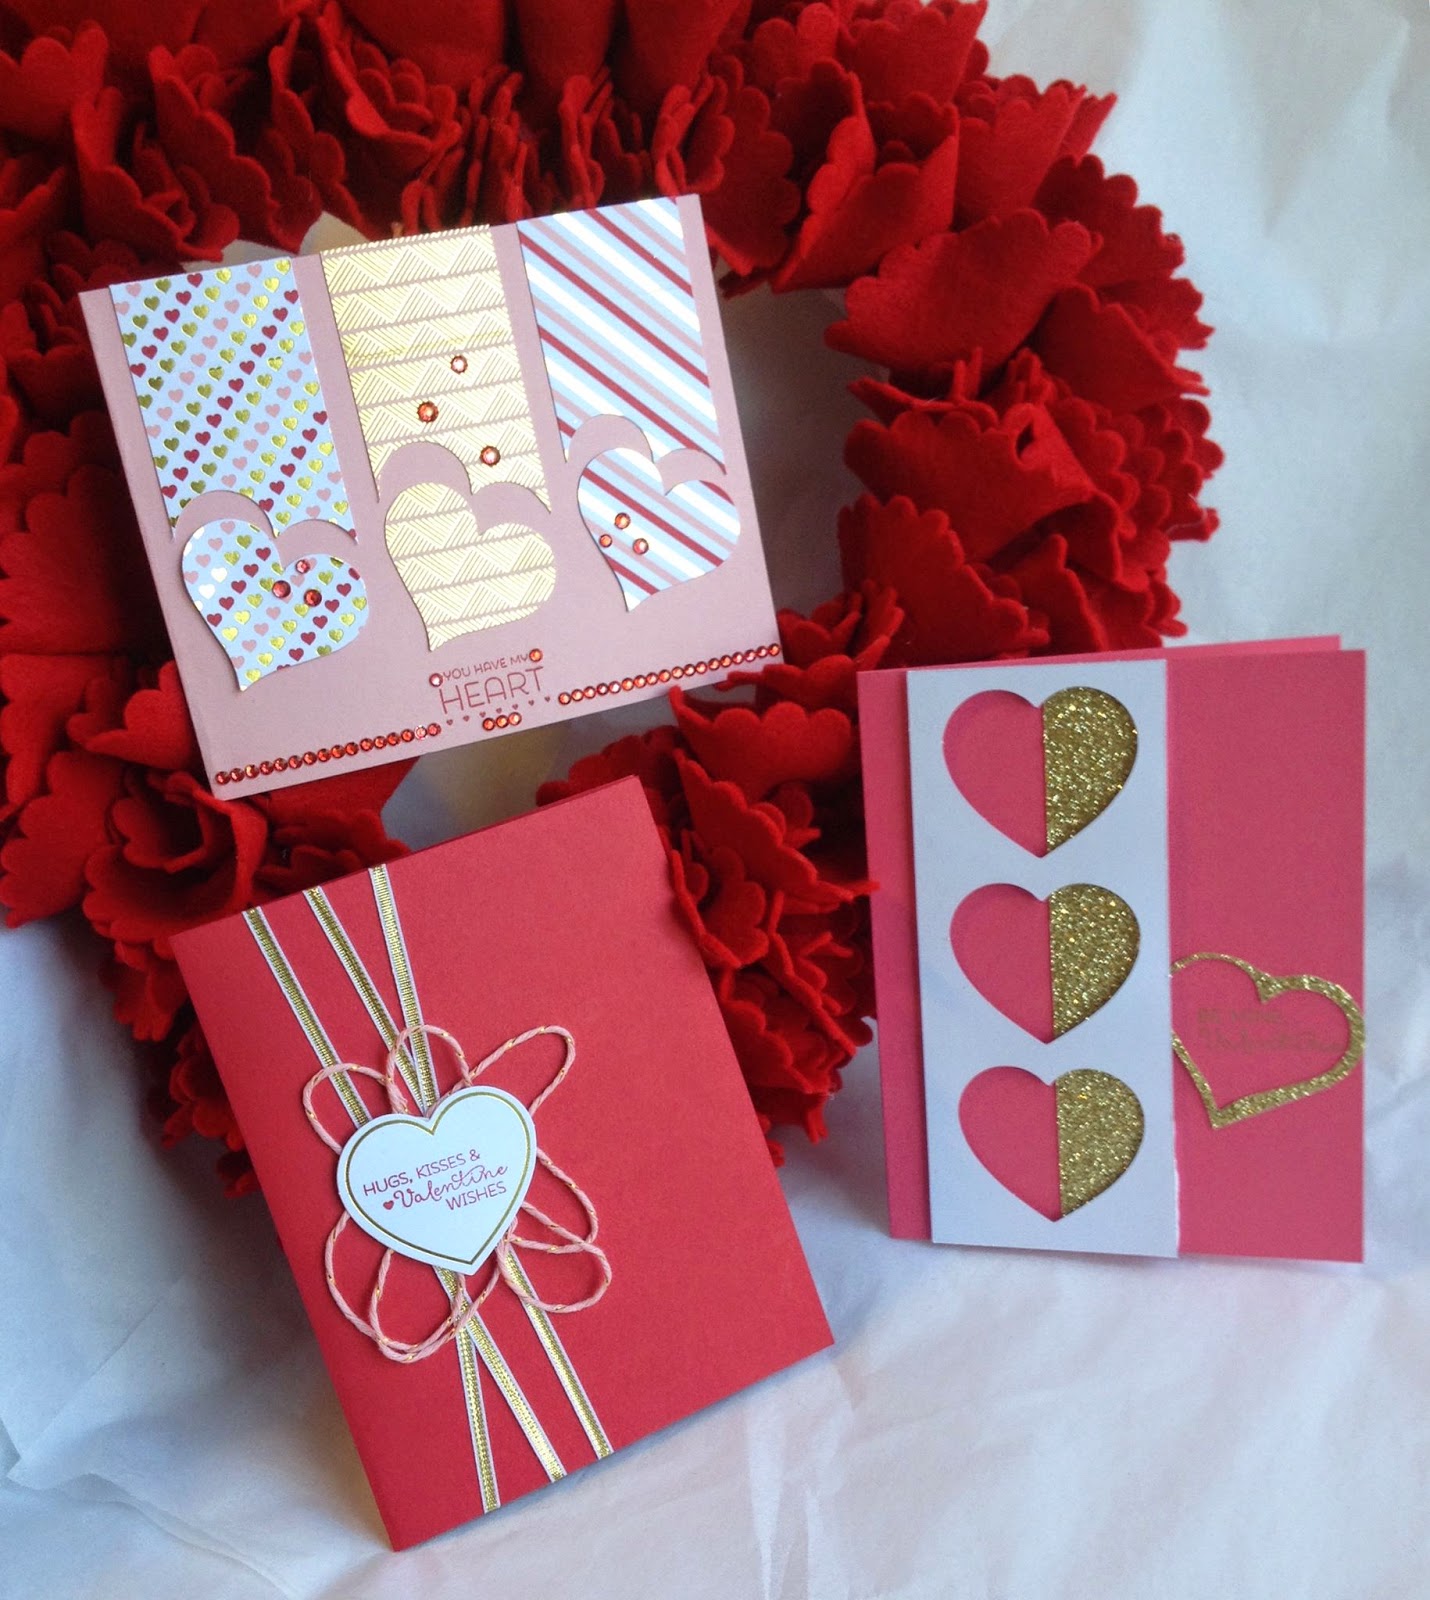
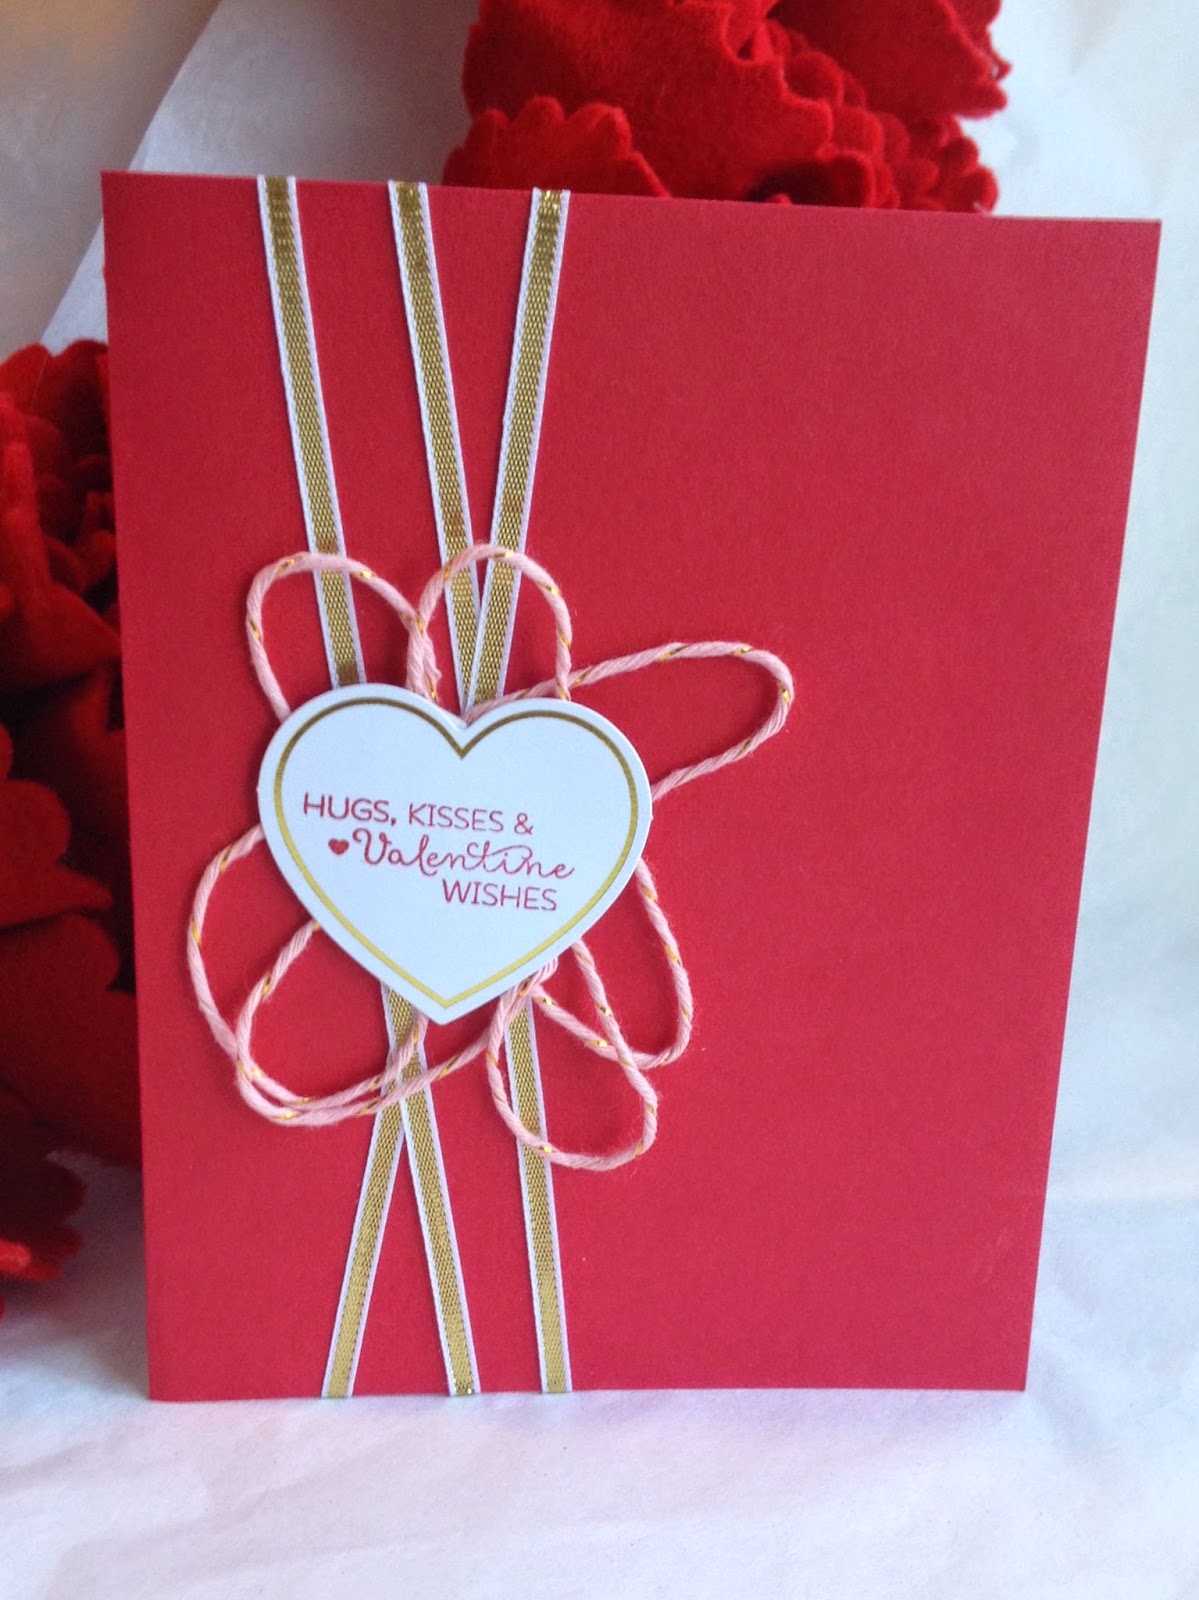
Today I used some pieces from the kit to make Valentine's Day cards. The kit this month had treat bags, but the stamp set works perfectly for some sweet Valentines, or general 'love' themes. I used 3 colors for my card bases, Blushing Bride and Real Red which match the color scheme, but also Strawberry Slush. I really appreciate the Cut and Ready Card Bases when I want to put together a quick card. I always find it helps to have one color already decided for me in the creation process! But really, having a nicely cut and scored base really makes starting easy. Linked to these at the bottom of the post, worth a click through!
For my first card, I cased a popular punch layout. Three columns of paper with a decorative punch - the Sweetheart Punch, in this case - offset at the bottom. This is a fun layout because it shows off your pretty paper so well. Its fairly easy, no tricky cuts or fiddly layers. The hardest part is lining up your punch, and honestly here's the tip:
Punch one, then insert that one AND the next back into the punch to see where to line up. It will punch through 'two' because one is already punched. Repeat with the last piece. Works for me every time.
 |
| How to use up all those long strips of rhinestones! Aha!! |
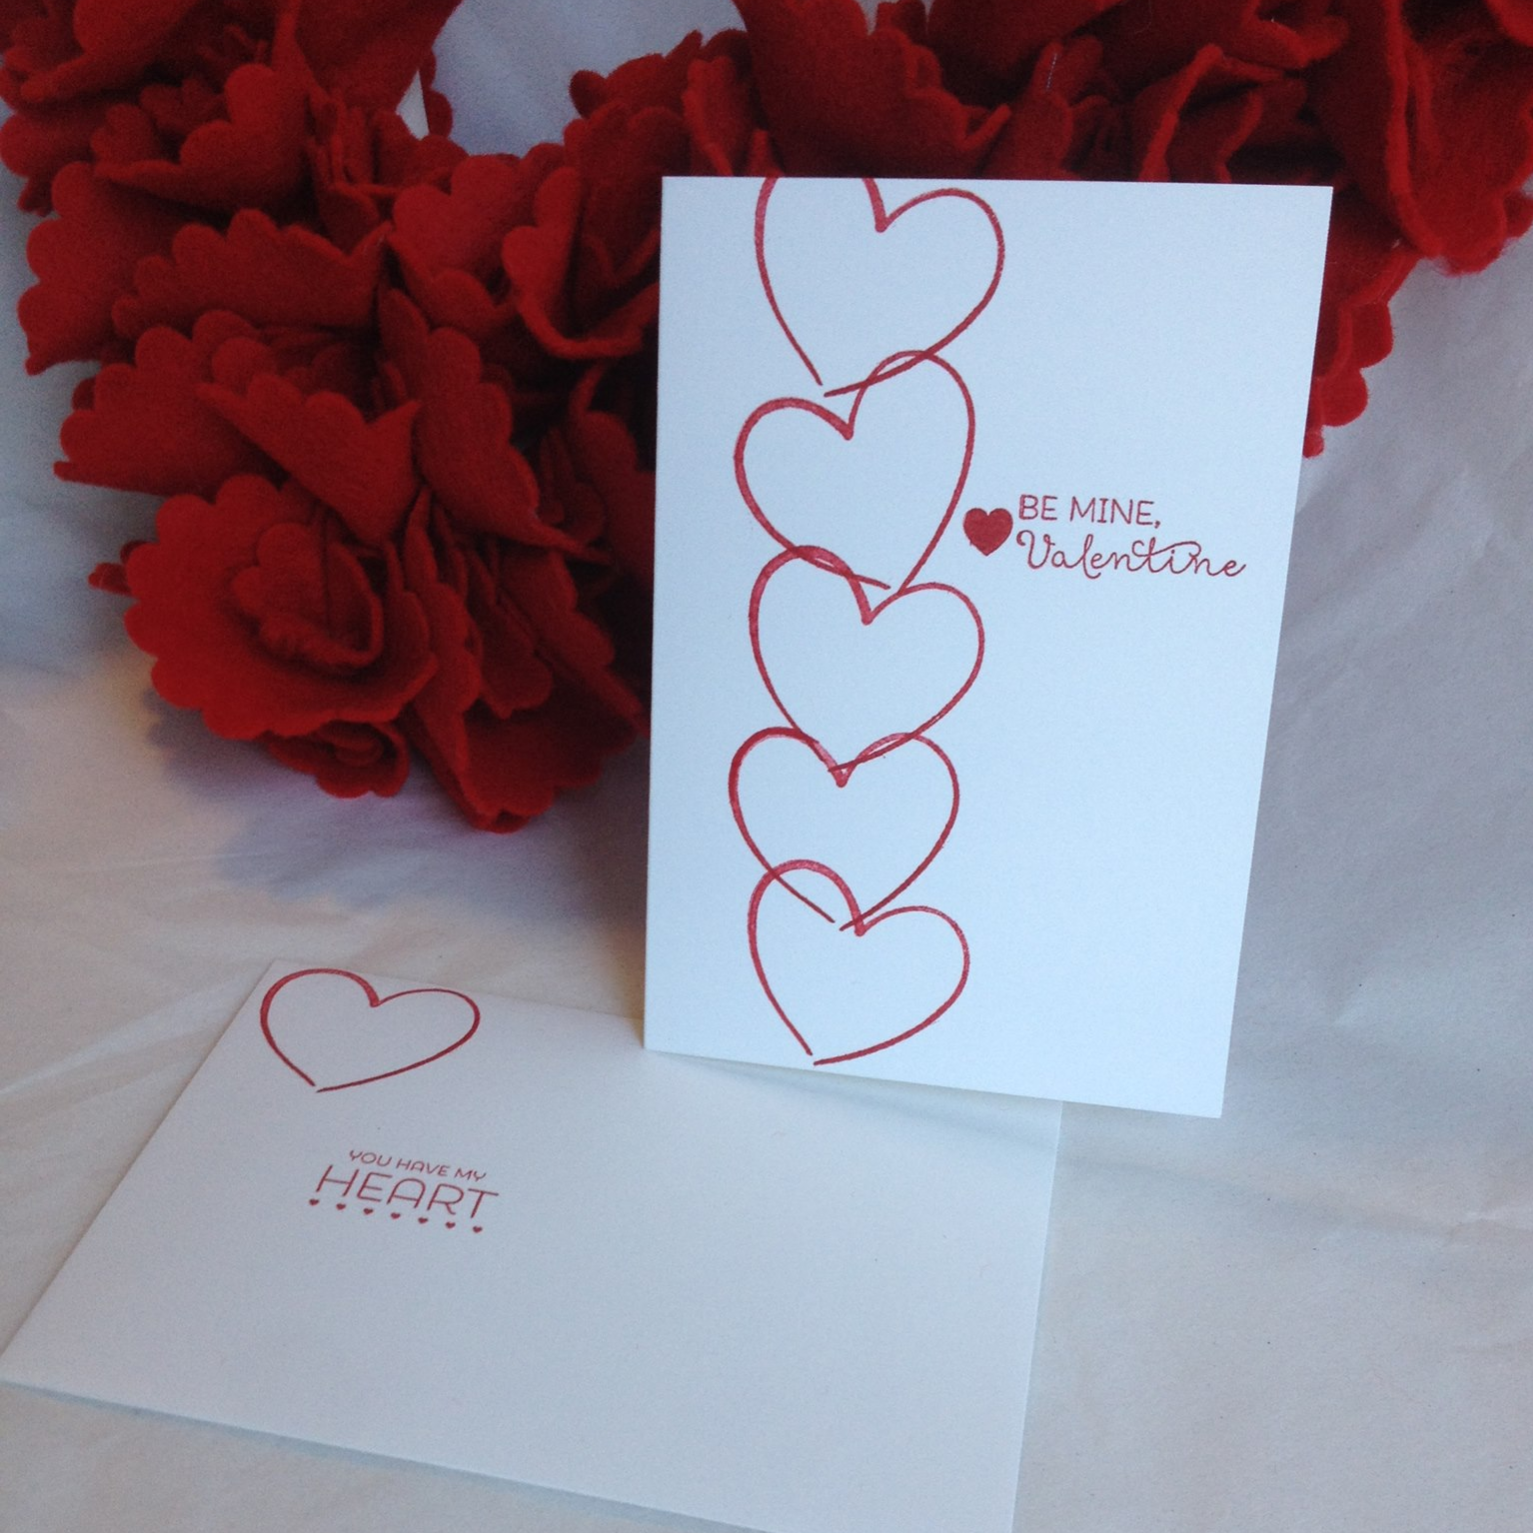
The fold-over topper cardstock from the kit is perfect for this layout! Its already cut to the right width - 1.5" - and its really pretty paper!! I love the shimmer of the gold. For this card I also used my Blendabilities and painted up some pretty bling to coordinate. The "You have my Heart" stamp lends itself well to my heart card.
 |
| This card is pretty as is, or could be stepped up |
 |
| Trash To Treasure - upcycle those leftover bits! |
The last card I have to share uses what many consider to be the 'trash' of the kit: the paper that held the die cut hearts. If you look through my Paper Pumpkin Pinterest Board, you'll see that tons of great alternate projects use those 'trash bits' to make some crazy cool cards and projects! Don't toss ANYTHING till you check out the alternate projects!! ((Tip #2, if you're counting!))
I trimmed the die cut cardstock to fit my card, and slid a piece of Glimmer Paper in gold behind it against the Strawberry Slush. I had a few cards made already using the gold with the heart punch, so I grabbed one of those outlines and trimmed it up to accent the sentiment. Which would have been more impressive if I'd stamped it in black or red, but I wanted to be all "GOLD" and used my Gold Encore ink pad. Totally forgot that the gold doesn't show up very well using delicate stamps. That gold ink pad is for big bold stamps, where the color just lays down all shimmery... On this card, Meh! Next one will be better! In person, you can read the sentiment just fine, but it just doesn't photograph very well or pop as much as it could have with a darker ink. ((ahnnnd, Tip #3! #yourewelcome))
 |
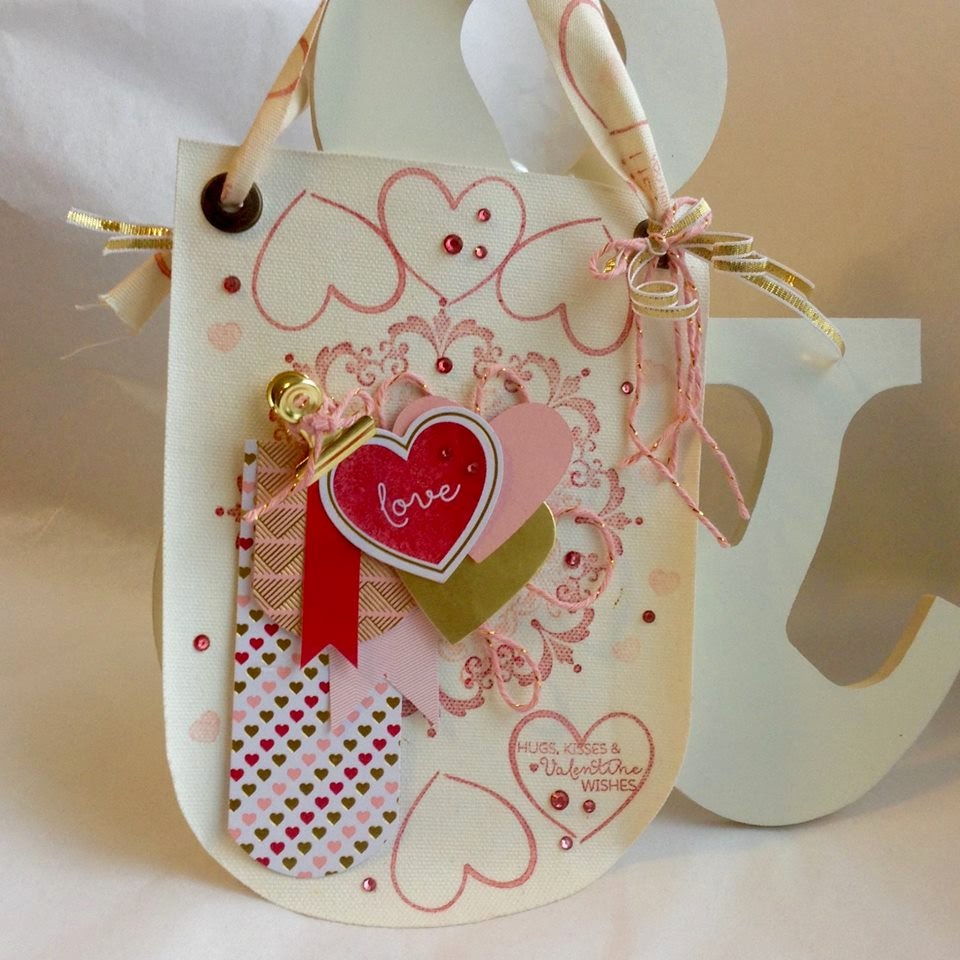
| Making more than the provided Paper Pumpkin project. Just one more way to have fun with your kit!! |
Paper Pumpkin kits will ship out after the 10th,
Happy Crafting!
-Angie
Click any image below to find out more, and to purchase,
any of the products used in today's projects.


